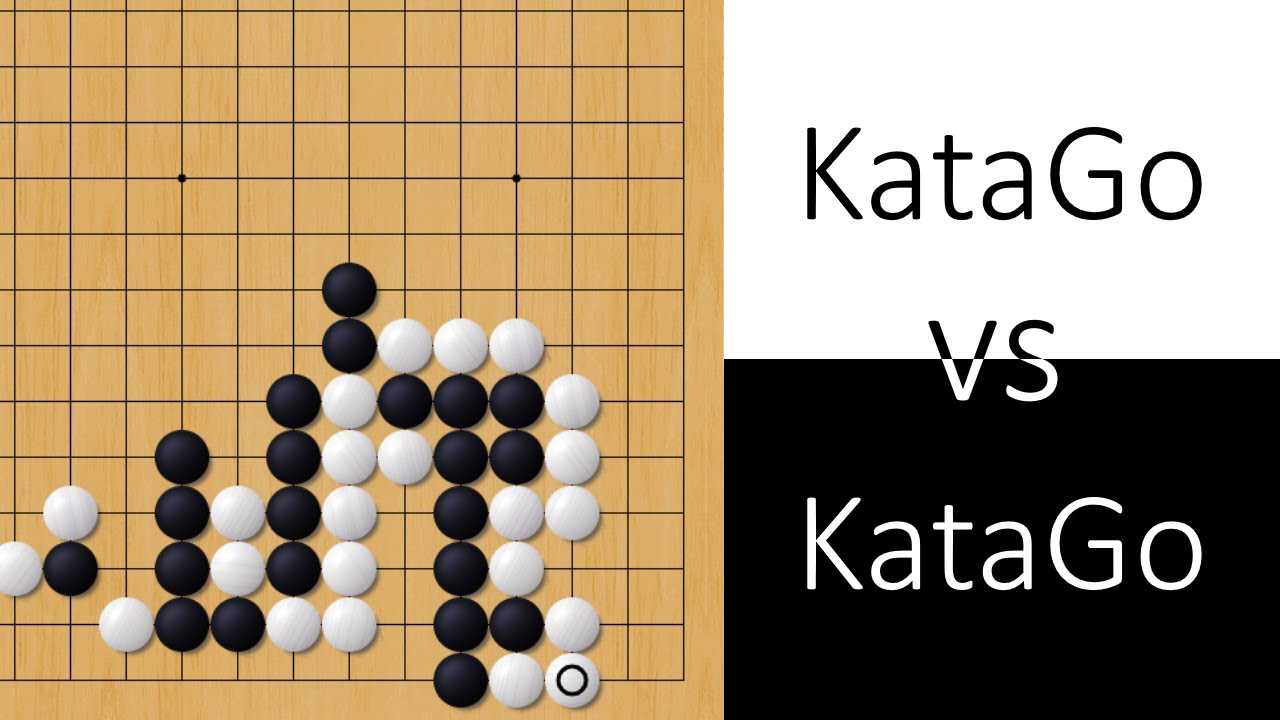
In game 40 (New Zealand rules, 7 komi), white builds a center moyo. Black invades it at move 63 and claims more than half of it. Some major trades occur elsewhere. In the end, black wins by 4 or 6 points.
Game 41 (New Zealand rules, 7 komi) was a spectacular, messy-looking whole-board fight. Another incredible tie, bringing our final tally of this series to 10 black wins, 11 ties and 20 white wins. I will return to exploring AGT positions until spook implements the newest Kata net on ZBaduk.
Anton Christenson, EGF 3d did a 65-minute YouTube review of this game!
I’ve added all of his (commented) variations, plus more KataGo variations, to the OGS review as well:
In my endeavour of exploring AlphaGo Teach positions (Chinese rules, 7.5 komi) in which white plays a mistake on move 2 to give black a closer-to-even winrate, KataGo has found a few move 2s which are not included in AlphaGo Teach’s database. This is my first pure KataGo self-play game with Chinese rules and 7.5 komi, in which white miscalculates a ko and black is ahead by about 27 points by move 179:
Anton Christenson, EGF 3d did a 78-minute YouTube review of this game!
I’ve added all of his (commented) variations, plus more KataGo variations, to the OGS review as well.
In my endeavour of exploring AlphaGo Teach positions (Chinese rules, 7.5 komi) in which white plays a mistake on move 2 to give black a closer-to-even winrate, KataGo has found a few move 2s which are not included in AlphaGo Teach’s database. This is my second pure KataGo self-play game with Chinese rules and 7.5 komi, which black wins by 1.5 points:
In my series of “white mistakes on move 2 to get winrates closer to 50 %”, I’ve most recently played game 42 of my KataGo (7 komi, NZ rules) series. This is, as far as I recall, the first game in this series in which KataGo plays a 3-3 invasion of a lone 4-4 stone. As if on purpose, not long after the invasion joseki is finished, KataGo sacrifices the entire invading group and the other player builds an 80-point territory around it. As with all ties in this series, black’s winrate first drops considerably before it goes back up towards 50 %, but in this game, the initial drop is much steeper (to around 14 %) and I almost resigned the game for black after it wastes a few ko threats. The winrate slants back up once white decides to waste a few ko threats of its own. Did I mention the black stone which white captures in a ladder three times before black saves it in the end? Funny game.
Game 43 (7 komi, NZ rules) was the latest in my series of high-playout KataGo self-play games with a white mistake on move 2 to get winrates closer to 50 %. This one featured complicated fighting everywhere. White sacrifices 14 stones inside black’s right side territory with no clear (to me) benefit or loss. It ended up as a tie.
Game 44 (7 komi, NZ rules) was the first game in this series using a new KataGo net! As a reward, we get our first game with a black 3-4 opening. Early fighting breaks out in the lower-right corner and black builds a center moyo as a result. Another tie.
Game 45 (7 komi, NZ rules) is our first game with an early (move 3) 3-3 invasion, soon followed by a second one that develops similarly. A very complicated game - and another tie. Our current tally is 10 black wins, 15 ties and 20 white wins.
Btw I would love comments from anyone who goes to the trouble of checking out these games  Don’t be shy to leave variations on the demo boards either!
Ooo, I’d be much too shy for that. But maybe I’ll challenge myself!
In game 46 (7 komi, NZ rules), white builds a 40-point lower side territory while black gets three and a half corners. This game is our sixteenth tie.
Game 47 (7 komi, NZ rules) sees black spending four moves to surround white’s 4-4 stone by move 21. Of course, that stone ends up living, anyway. Black itself makes six living groups. After it realizes that white is gonna win by 2 points, black starts wasting ko threats and white wins by at least 12 points.
Fuseki demo board for all the games so far: KataGo self-play fuseki
Remember when kick after keima approach was considered bad ?
Pepperidge farm remembers
Game 48 (7 komi, NZ rules) was a complicated game with fighting all over the place. Black starts wasting ko threats near the end and loses by at least 12 points.
In game 49 (7 komi, NZ rules) black develops a large right side in exchange for its lower-right corner. Even more trading occurs later on. You know the gist by now - another beautifully balanced tie.
Game 50 (7 komi, NZ rules) sees black getting two large corners plus two living center groups. Of course it’s a tie. Our tally currently stands at 10 black wins, 18 ties and 22 white wins.
Game 51 (7 komi, NZ rules) focuses mostly around complicated center fighting.
Antti Törmänen, JPN 1p has reviewed this game! KataGo’s ‘Perfect Selfplay’ (2)
OGS review with a few additional comments by Clydevil ~2d: KataGo 7 komi self-play - game 51
Game 52 (7 komi, NZ rules) was another tie:
Game 53 (7 komi, NZ rules) was our first game with a taisha variation (won by white):
Game 54 (7 komi, NZ rules) was another tie, bringing our current tally to 10 black wins, 21 ties and 23 white wins:


